

So you've taken the plunge and invested in a new (or second hand) camera, but maybe you're not so sure what all the dials do and what all the settings actually mean. When I was 18 and I got my first DSLR, I didn't know what it all meant, either - but once I got the hang of the basics, it eventually came together. This is a beginner’s guide with a very basic overview of the camera settings, where I've tried to make everything as simple and straightforward as possible.
Whatever camera you have, it's basically a box that records light. In a nutshell, most of the things you'll need to learn are about how the camera lets in light. It's all about figuring out the best setting to get the effect you want while also getting the right exposure (the right amount of light). Too much light means overexposed images, and too little light means underexposed images. I'll explain the main three settings which change how your camera lets in light and what they all mean, and then we'll chat about how to adjust the settings with the M, A, S and P dials. There's a lot more to photography than this, but this is a good place to start.
The Three Main Settings: Shutter Speed, Aperture and ISO
Shutter Speed
The shutter speed controls how long the shutter on the camera is open for. A short shutter speed will only capture a fraction of a second, giving a still, frozen image. Longer shutter speeds will capture more movement and give the impression of a blur. If you want to record movement with a long shutter speed, you’re going to need a tripod. Slower shutter speeds let in more light, while faster shutter speeds let in less.
Aperture
You know those portraits with the really nice background blur? Yeah, that’s aperture. When it's set to a small number, it's called a wide aperture (such as f/2) which will let in more light and make the image softer. Higher apertures (such as f/8 and above) are more ideal for landscapes or other images where you want everything to be crisp and in focus.
ISO
The darker the place where you’re taking the image = the higher the ISO. This increases the camera’s sensitivity, meaning you can get an image in a dark room without a flash. If you’re outside on a sunny day, ISO 100 will be fine - however, if you’re in a bar getting pictures of your friends without using the flash, you’ll probably need at least ISO 1600 or higher. Keep in the mind that the higher the setting, the more grainy the image, so use it wisely. Try not to go over 1600 unless you really have to.
Still here? Well done. Confused? I was too at first, but you'll get the hang of it. Now you hopefully have a better idea of what those three settings do, it might be easier to understand that if you want to use a certain setting for a certain effect, you may have to change the other settings as well to get perfectly exposed images. For example: if you want to photograph something and get a blurry background and set your camera to a wide aperture setting, you may find that the image is overexposed, and that you need to use a faster shutter speed to compensate.

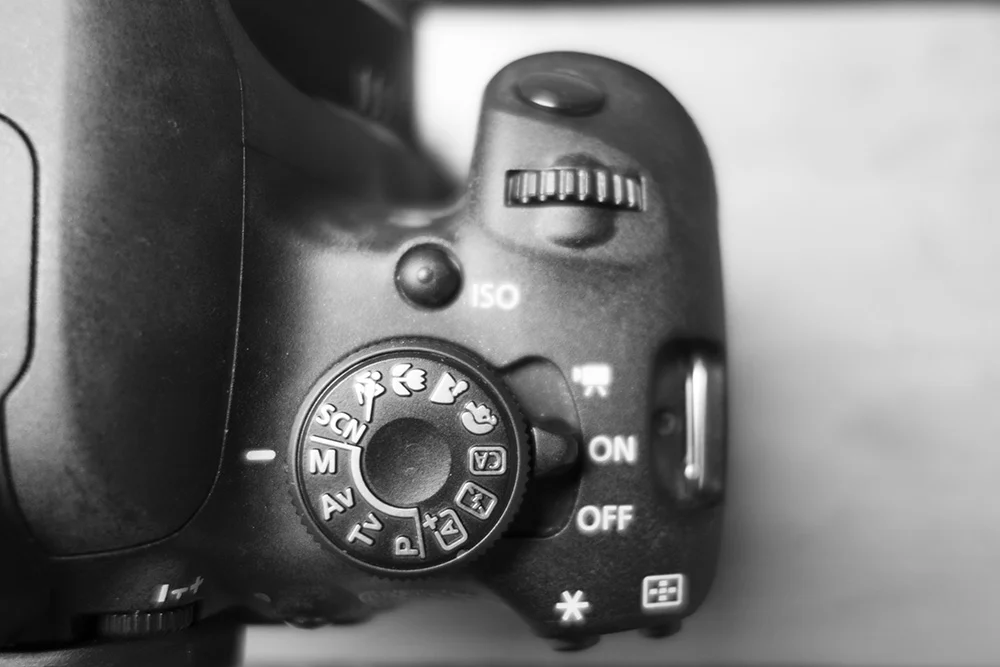
The M, A, S and P Dials
P Mode = Programme
This is a good mode for people who feel like they need more to work with than the auto mode but are still a little scared of controlling the shutter speeds and aperture. P will allow you to adjust the exposure compensation so that you can under or over expose your images, and change the ISO and white balance or set them both to auto, but will decide the shutter speed and aperture for you.
S = Shutter Priority
Shutter Priority is all in the name, it's will allow you to change the shutter speed as well as everything you can change on P Mode but will calculate the aperture for you. This is good if you want to use a certain shutter speed (for example, if you wanted to make sure your camera was at a fast enough shutter speed to prevent camera shake), but may not want to change the aperture every single time to compensate for it.
A = Aperture Priority
Kind of along the same lines as Shutter Priority, but with the aperture. So you can change everything you can in Programme as well as the aperture, but the camera will automatically figure out what shutter speed to use with it. Personally, this is the one I use most of the time for blog photography.
M = Manual Mode
Manual Mode lets you change all the settings. This is ideal for time lapses, filming videos, or for other scenarios where it's important that the settings don't change over time.
Does your camera look a bit less scary now? I hope so. Let me know if you found this helpful! Like I said at the beginning, there's a lot more to photography than just these settings, but I really hope it helps some of you try out the manual controls on your cameras and experiment with photography.
If you have any questions, let me know in the comments. If I get a lot of the same questions or requests to talk about other settings, I'll do a follow up article.